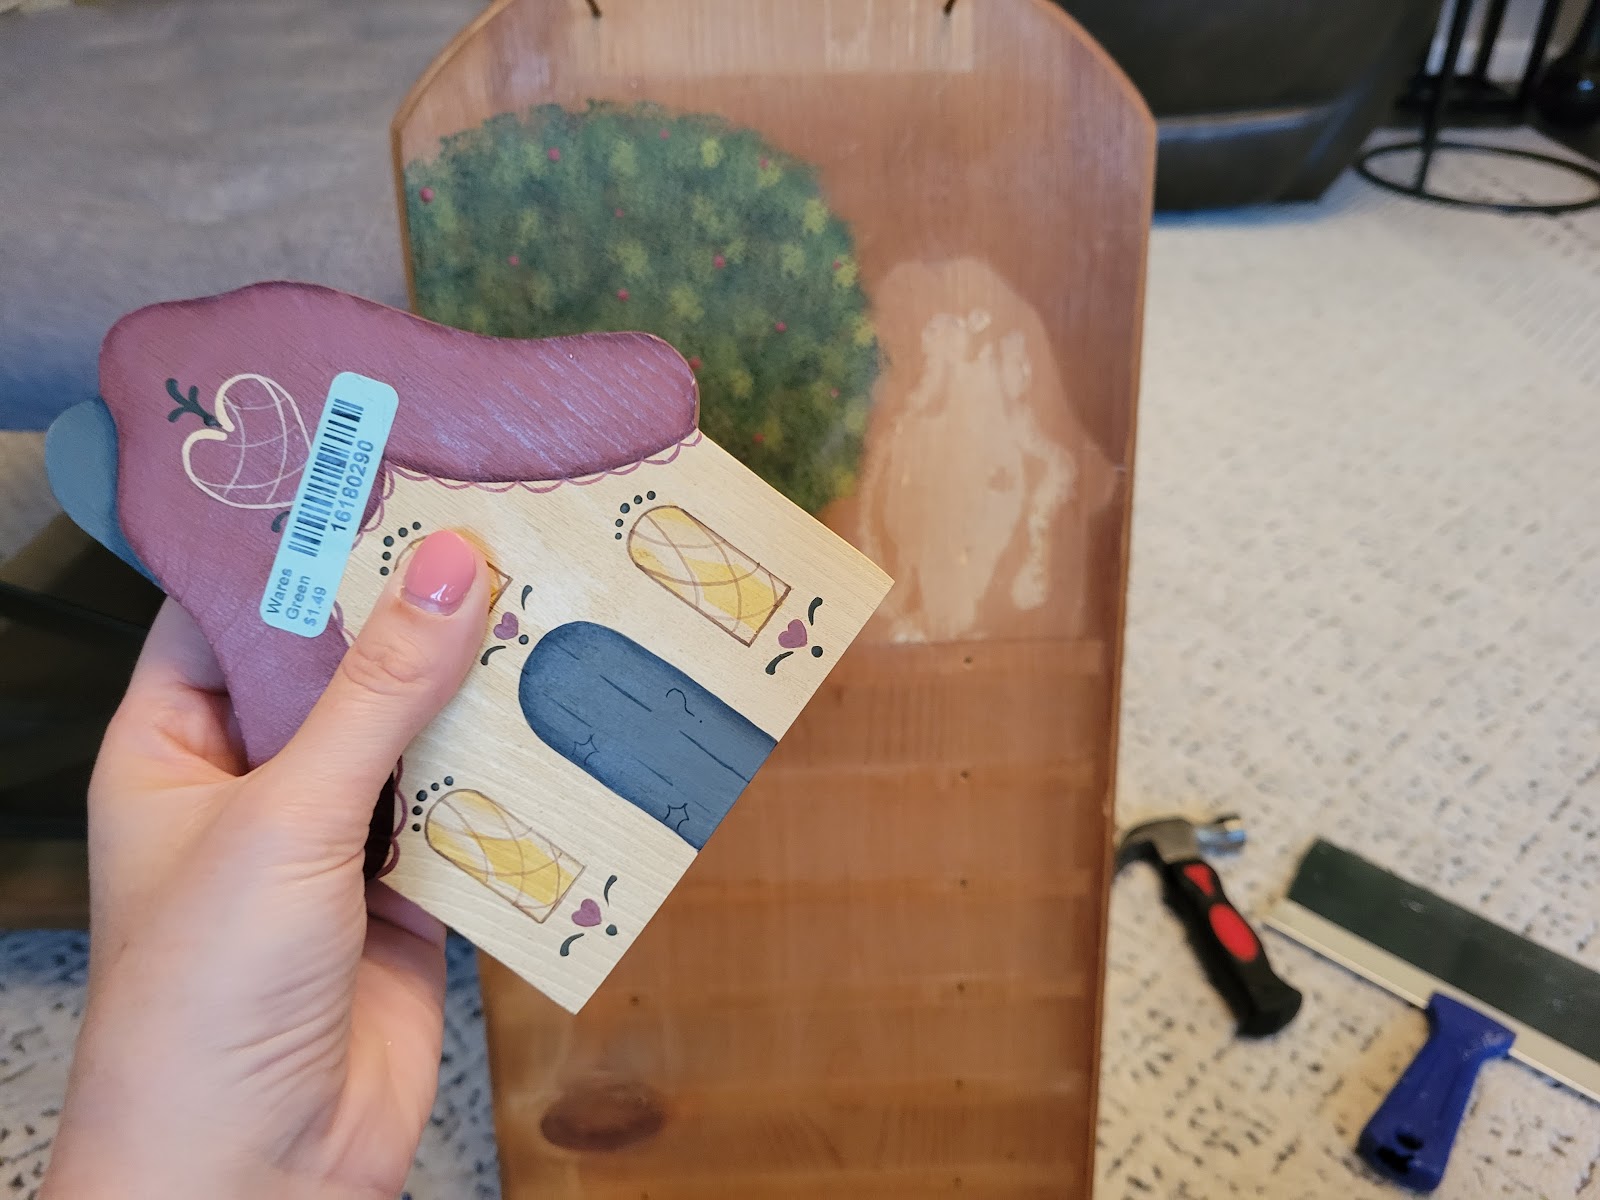
When my husband saw it, he gave a ringing endorsement: "That is ugly." I couldn't argue him on that point; he was entirely right. I just knew it wouldn't stay ugly for long.
Here's the pared-down process I used:
1) Remove the wooden house with a hammer and chisel.
2) Remove the ledges and thoroughly sand the entire surface.
Here's the pared-down process I used:
1) Remove the wooden house with a hammer and chisel.
3) Fill screw holes with stainable wood filler, then sand again.
4) Stain the prepared wood. I used Minwax Mission Oak.5) Reattach the ledges at your chosen heights.
6) Add any desired decorative elements. To fill in some of the empty spaces, I found these wooden appliques from Hobby Lobby and stained them to match.
7) Add numbers or letters to the ledges. Katie from Little House of Four used authentic vintage hymn numbers, which looks amazing. I chose to print letters that I trimmed to size and coated with matte Mod Podge for durability and a slightly aged appearance.


.png)


No comments